Tutorial: Auron’s Katana from Final Fantasy X
The tutorial, or rather a walkthrough, is of the famous Katana held by the Legendary Guardian, Auron, from Final Fantasy X. This could be an entry in the #ThrowbackThursday series of posts, but it has not been published until today, and on a Friday. This was originally written in 2011, a year after I finished a cosplay project that was several years in the making back then, after completing the game in late 2003. Though I finished the costume literally 48 hours before MTAC in 2010 (the year which is known to many attendees as SwiMTAC), I had little time left to work on the prop beforehand. I needed at least two weeks to make it. In the end, it only took a week and a half to finish it, and two days of cutting it between letting the Liquid Nails dry between the dowel.
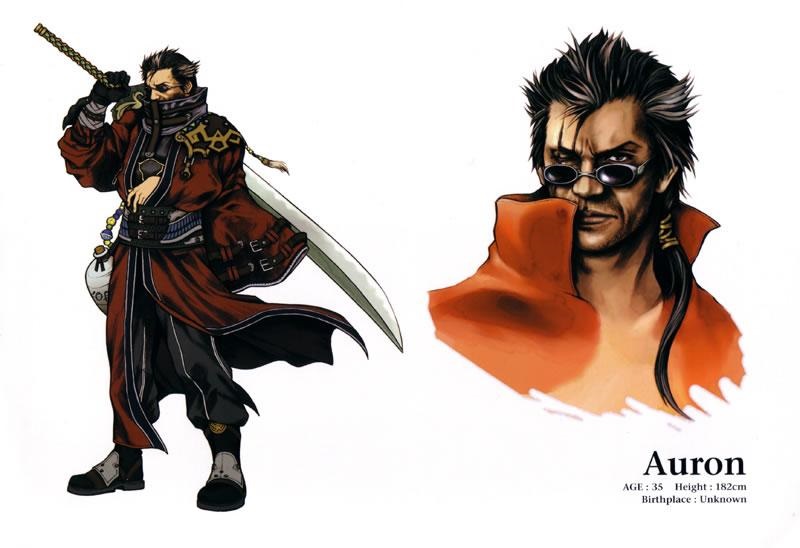
Let’s begin the “tutorial” with a run down of the items I used to make Auron’s Katana possible. I should also point out that a lot of the inspiration from this was acquired from the Cosplay.com forums, such as the thread specifically for foamboards:
- A picture of the weapon (drawn or traced)
- Rigid Foamboard (those pink, or blue, boards from a major hardware for around $15)
- Liquid Nails (to hold the cut pieces of foamboard in place)
- A Dowel (for the handle and to hold the “blade” in place)
- Gesso
- Acrylic Paint
- Sheets of Fun Foam
For the tools, I used the following:
- Box Cutter
- Hobby Knife
- Paint Brushes (The wide foam kind and few of the smaller ones that artist use)
- Dremel (for minor sanding and detailing)
- Hot Glue Gun (for the sword designs)
The Pattern
To make the weapon come to life, I needed references of the Katana to print out into a pattern to cut the pieces out. If you’re a good artist, you could draw the weapon, scan it, and scale it to your height. What I did was, and this will be a little technical, use a model program that includes the characters and objects found in the game, called “FFXViewer.” All you need is the DVD of the game and pop it into the disc drive (recommended for legal reasons), or you can perform a very thorough Google search to find it. The original link I had for this post no longer has a working download source, and to my knowledge, FFXViewer worked only on Windows XP; hopefully someone who still has a copy can get it working on Compatibility Mode on later Windows versions.
Finding the model of Auron’s Katana with the viewer, I took screenshots of it from top to bottom; from side to side, but most importantly the sides. It took me a lot of patience to figure out which parts to dissect for assembly. Next, I used Paint.net to trace the weapon pieces.
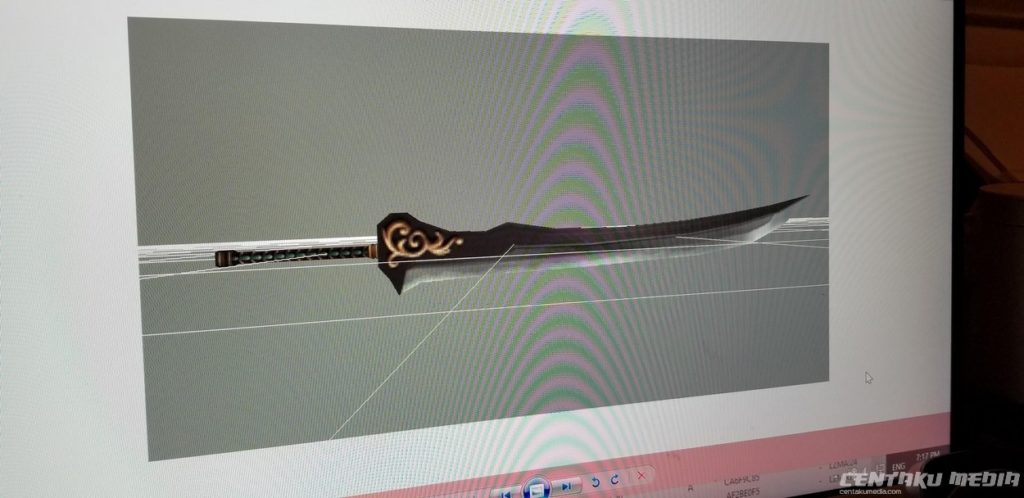
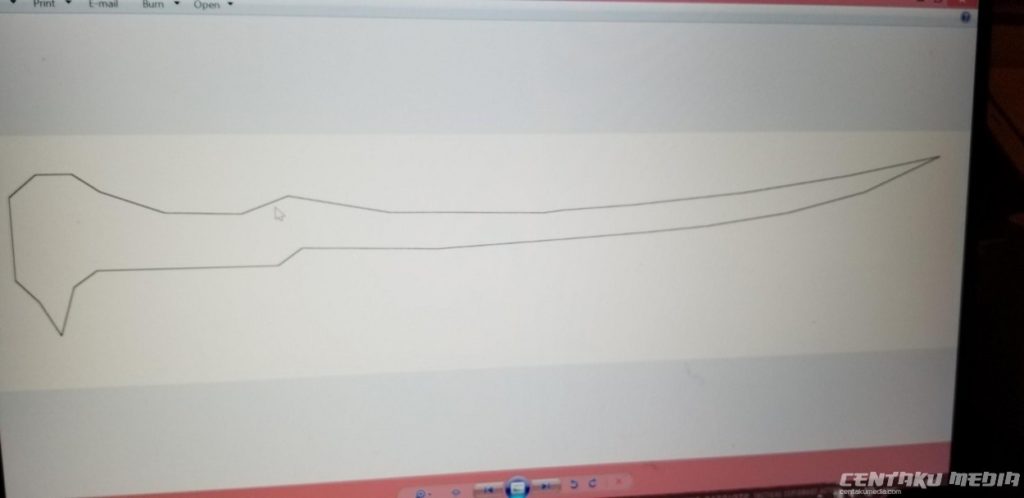
I also followed a prop scaling tutorial to get the Katana within my height range. After tracing the “pieces,” I needed to print them out. Using a simple print dialog will not get the complete scale of the weapon, so I used Block Posters to get what I wanted. Unfortunately, the original source to the tutorial I used is no longer available, but there are now better tutorials that show how to do this, such as this one from Niveraswings Costumes.
Construction
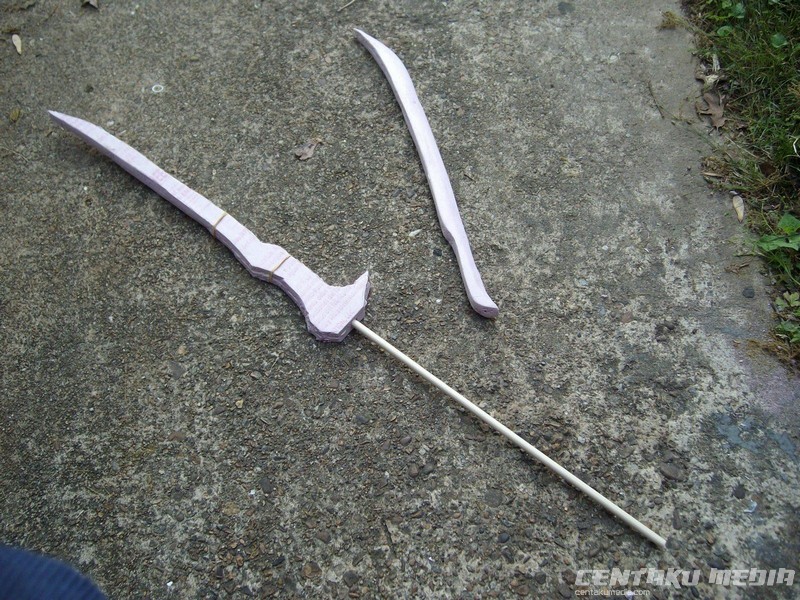
Now for the fun part! I took the patterns, the foamboard, and the box cutter, and cut the pieces of the prop. There were a total of 4 pieces to cut: two of the base and two of the blades. Remember to adhere to safety measures when cutting and protecting yourself from the cutter blade and fiberglass particles!
Before layering the blade, I used the Dremel tool and carefully created a straight inset along the insides of the base pieces to sit the dowel in with a sander bit; just enough to cover the dowel between the parts so there won’t be a bulge. A lot of patience is required for this step!
I layered the base pieces between the dowel and the blade pieces together with Liquid Nails. The glue can take approximately 6 hours to dry, but if you’re patient, you can wait a whole day to make sure it’s completely dry.
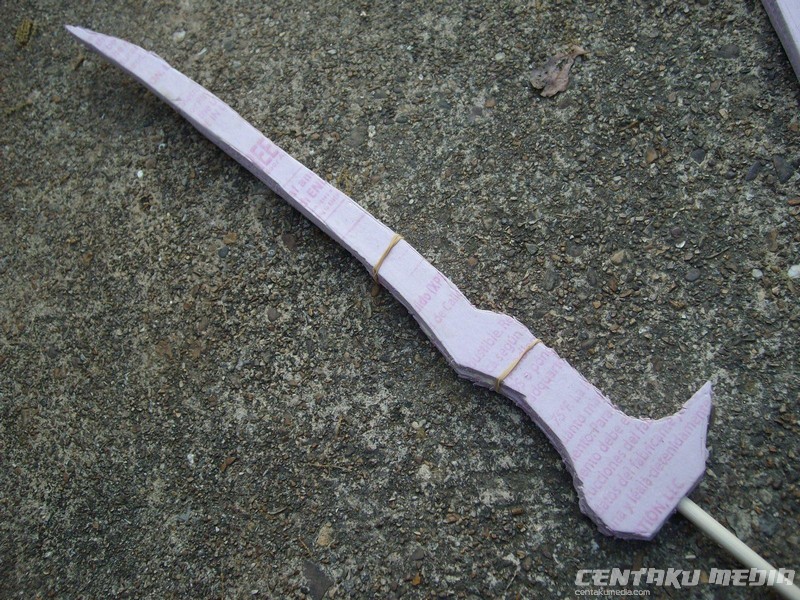
The pieces are very jagged right now, but it can be fixed with sanding! I used the Dremel tool and sand paper for this. For the base, I took the sandpaper and sanded the outside until it’s smooth and flat; taking care of sanding the bottom piece where the blade will sit.
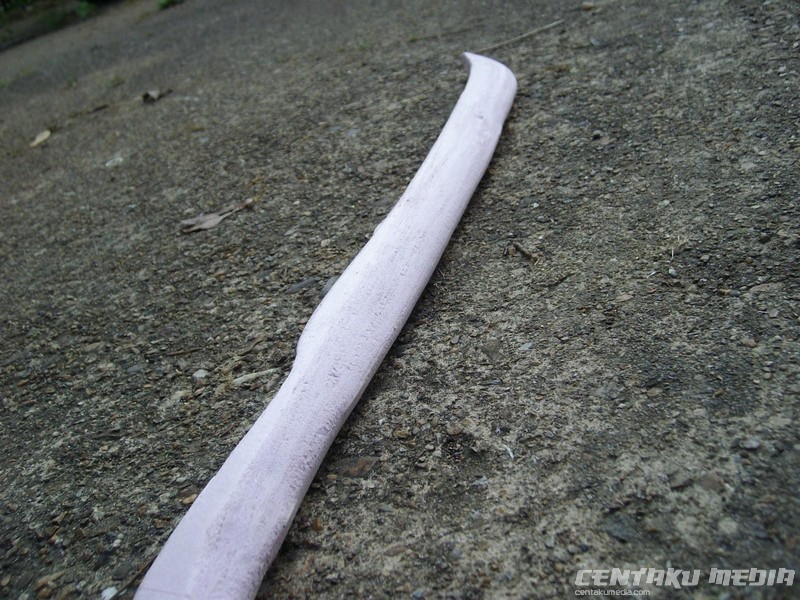
For the blade, I used the Dremel again and lightly sanded it sideways where the blade will form. When the blade is formed, I used the sandpaper and smoothed it out. The back of the blade was sanded down flat enough so it will seat properly with the base. Note: I took very care, too much care rather, to form the blade, so mine looks a little “fat”. If you have tons of patience, you could do a lot better than I did.
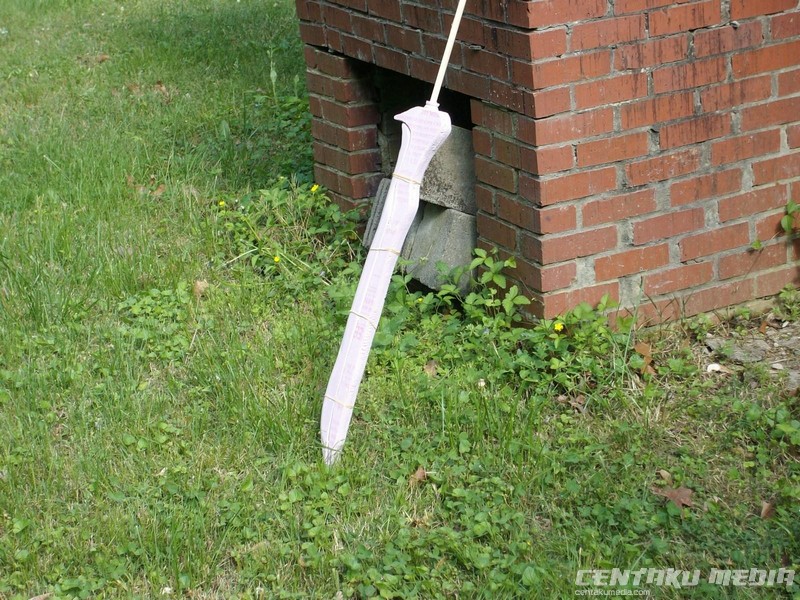
After sanding the base and the blade, it was time to glue them together. I used the Liquid Nails along the back of the blade and attached it to the base. This was a bit difficult to keep together until it dried; you can take a couple of wide rubber bands that’s not too tight or it will dent the foam. Slide it over the katana until it completely dries, and sit it in a place where it won’t be disturbed. A rubberband was the only thing I could find right away, but an old ribbon could hold this as well.
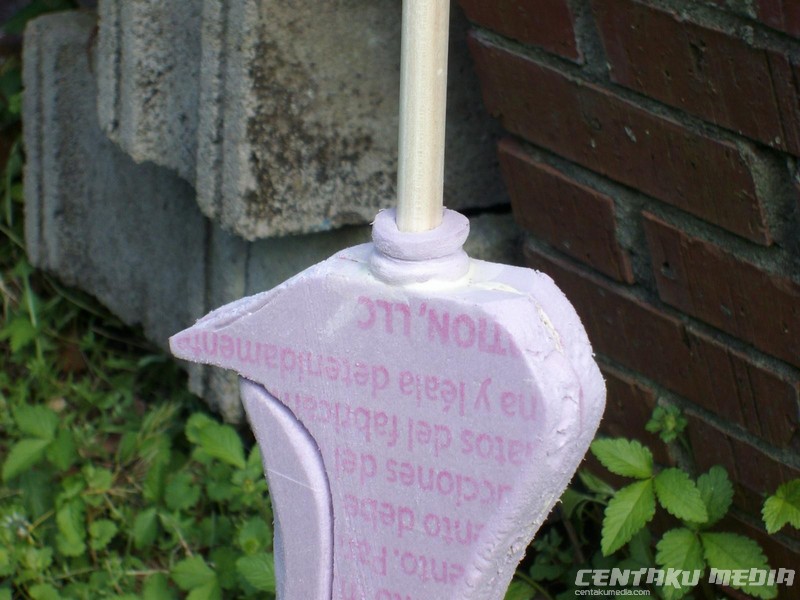


And then it was time to paint it! I also made another blueprint for the runic design at the base of the Katana, and traced it along, filling it in with hot glue to make an embossed look before painting it gold.
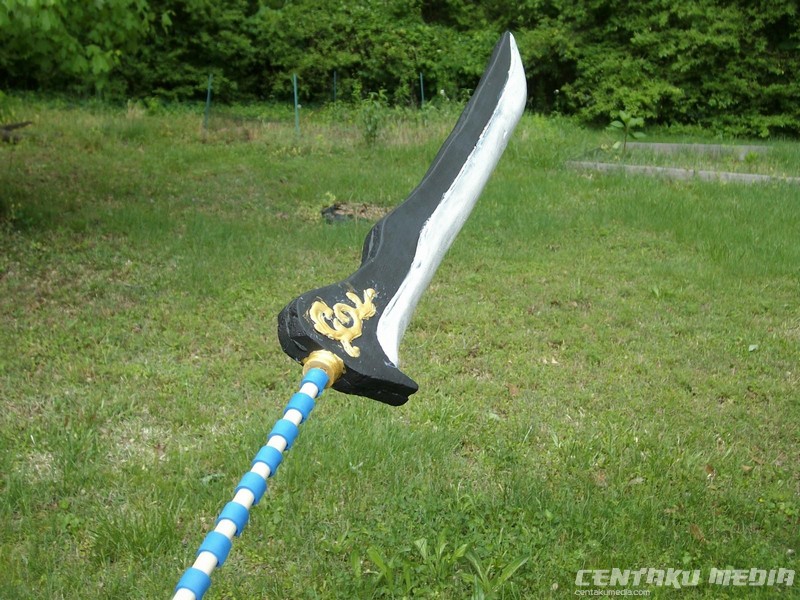
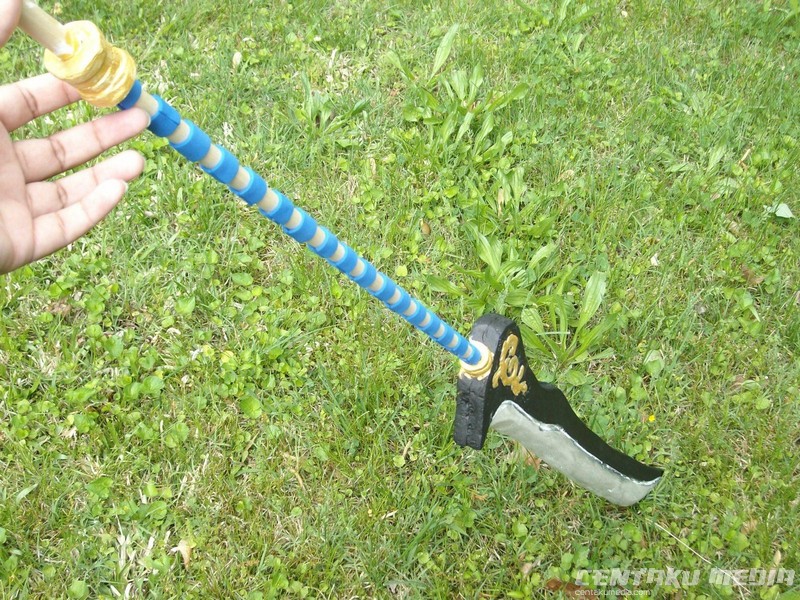
I painted the rest of the Katana with only one day to spare before I went to MTAC. Of course, it was a very complemented part of the costume.

I retired Auron at MTAC 2012. However, I plan on making a new version of his costume in the future, whenever the mania of Ignis Scientia, another Final Fantasy character from the 15th installment of the franchise, dies down… which in all honesty, never will.
Discover more from Centaku Media
Subscribe to get the latest posts sent to your email.


